仕事が忙しかったり、転職したり色々あって、久々の更新。
新しい職場でPythonを使うことになりそうなので慌てて勉強中。
Pythonの開発環境として便利そうなPyCharmを使おうと思ったんだけど、
無料版であるPyCharm CommunityはDjangoに対応していない。
手動でインストールすれば使えるんだけど、ちょっとコツがいる。
その中でつまずいた事を備忘録的に記録しておく。
前提
・OSはWindows7
・AnacondaとPyCharmはインストール済みである
※ちなみに、今回インストールしたのは以下の二つ
・Anaconda Version 5.2 (Python 3.6 version)
・pycharm-community-2018.2.3
・PyCharmは日本語化しておく
参考URL:Qiita – pycharmの日本語化
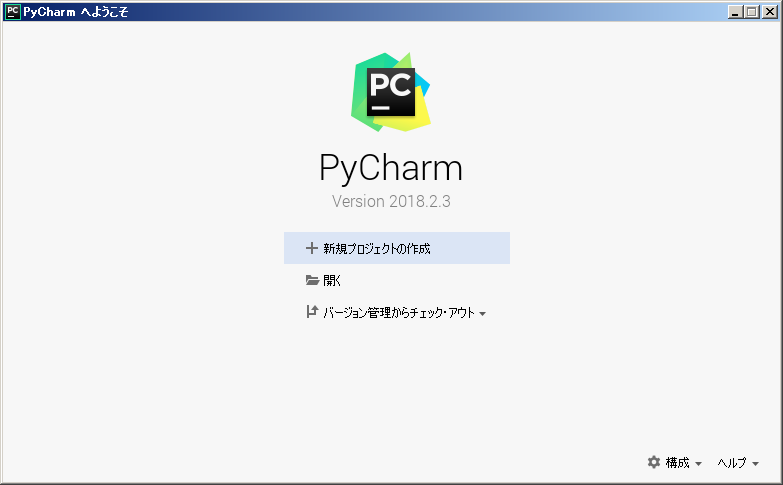
1.PyCharmを起動し、新規プロジェクトを作成する
PyCharmの起動画面で「新規プロジェクトの作成」をクリック

ロケーションにプロジェクト名を入力(今回は「sample」)
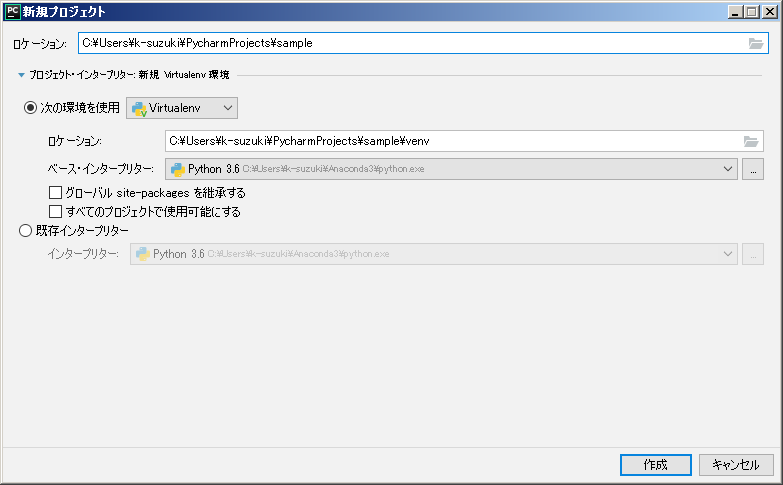
PyCharmのプロジェクトと仮想環境ができる
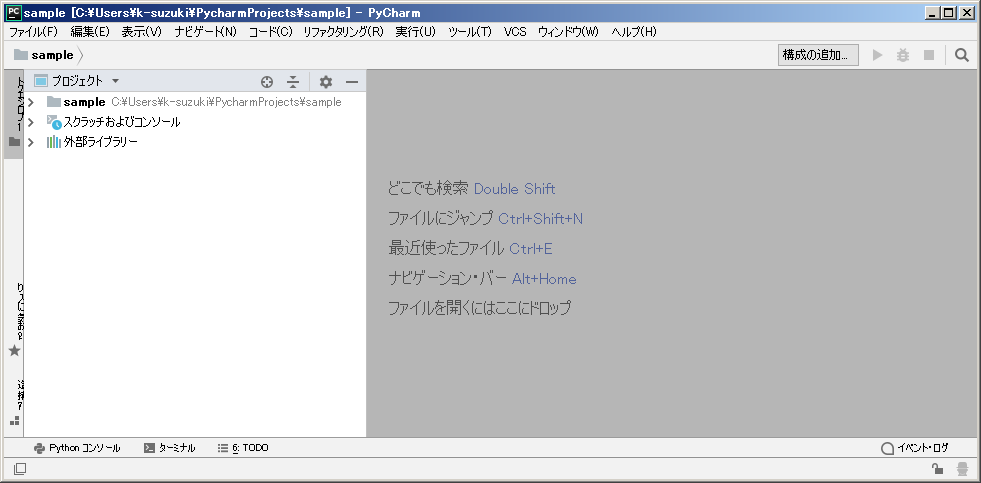
2.Djangoをインストールする
画面下部の「ターミナル」をクリックして、仮想環境のターミナルを起動する。
ターミナル上で「pip install django」を実行する。
(venv) C:\Users\...\PycharmProjects\sample>pip install django
Collecting django
  Using cached https://files.pythonhosted.org/packages/ca/7e/fc068d164b32552ae3a8f8d5d0280c083f2e8d553e71ecacc21927564561/Django-2.1.1-py3-none-any.whl

Collecting pytz (from django)
  Using cached https://files.pythonhosted.org/packages/30/4e/27c34b62430286c6d59177a0842ed90dc789ce5d1ed740887653b898779a/pytz-2018.5-py2.py3-none-any.
whl
Installing collected packages: pytz, django
Successfully installed django-2.1.1 pytz-2018.5
You are using pip version 10.0.1, however version 18.0 is available.
You should consider upgrading via the 'python -m pip install --upgrade pip' command.
「pip freeze」でバージョンを確認。
(venv) C:\Users\...\PycharmProjects\sample>pip freeze
Django==2.1.1
pytz==2018.5
You are using pip version 10.0.1, however version 18.0 is available.
You should consider upgrading via the 'python -m pip install --upgrade pip' command.
3.Djangoプロジェクトを作成
ターミナルでDjangoプロジェクトを作成するコマンド「django-admin startproject helloproject」を実行する。
実行すると、プロジェクトのディレクトリができる。
(venv) C:\Users\...\PycharmProjects\sample>django-admin startproject helloproject

(venv) C:\Users\...\PycharmProjects\sample>dir
sample/
    .idea
    helloproject/
        manage.py
        helloproject/
            __init__.py
          settings.py
          urls.py
          wsgi.py
    venv/
4.アプリケーションを作成
「helloproject」ディレクトリに移動し、アプリケーションを作成するコマンド
「django-admin startapp helloworld」を実行する。
実行すると、アプリケーションのディレクトリができる。
(venv) C:\Users\...\PycharmProjects\sample>cd helloproject

(venv) C:\Users\...\PycharmProjects\sample\helloproject>django-admin startapp helloworld

(venv) C:\Users\...\PycharmProjects\sample\helloproject>dir
helloproject/
    helloworld/
        db.sqlite3
        helloproject/
        helloworld/
            __init__.py
            admin.py
            apps.py
            models.py
            tests.py
            views.py
5.プロジェクトのルートを設定
このままだと、「sample」プロジェクトがプロジェクトのルートになってしまうので、
「helloproject」プロジェクトのルートを設定する。
「helloproject」ディレクトリを選択し、右クリック > 「ディレクトリをマーク」 > 「ソースのルート」をクリック
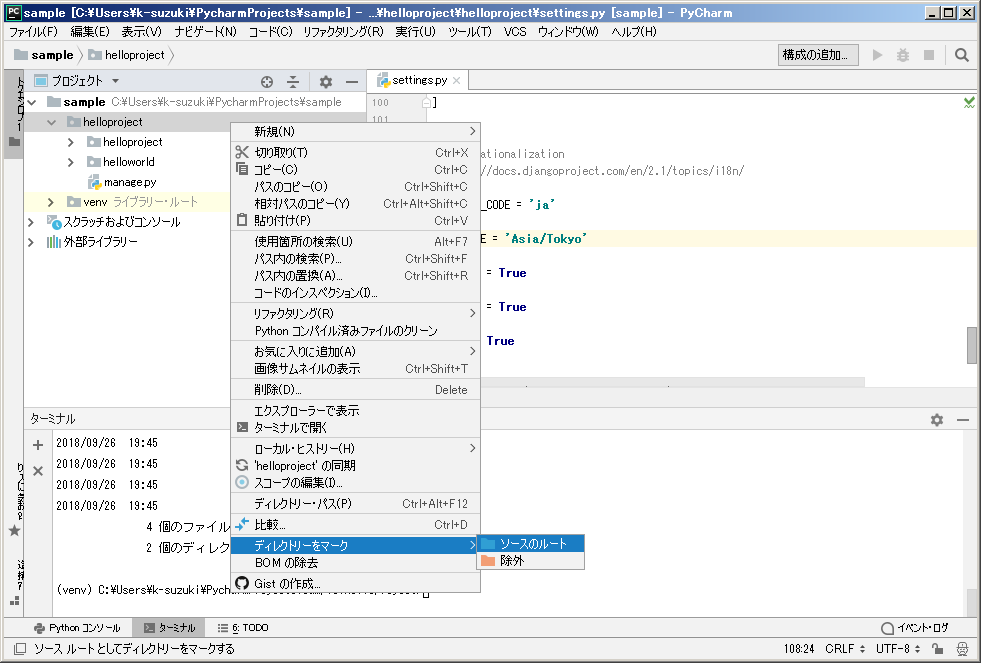
これで完了。
6.アプリケーション用のソースを追加・修正
「helloworld」ディレクトリに「urls.py」を作成する。
[python]
from django.conf.urls import url
from . import views
urlpatterns = [
url(”, views.index, name=’index’),
]
[/python]
「helloworld/view.py」を開き、以下のように修正する。
[python]
from django.http import HttpResponse
def index(request):
return HttpResponse(‘<h1>Hello Django World!</h1>’)
[/python]
「helloproject/urls.py」を編集し、先ほど作成した「helloworld/view.py」をincludeする。
[python]
from django.contrib import admin
from django.urls import path
from django.conf.urls import url, include # 追加
urlpatterns = [
path(‘admin/’, admin.site.urls),
path(‘helloworld/’, include(‘helloworld.urls’)), # 追加
]
[/python]
「helloproject/settings.py」に作成した「helloworld」を追加する。
[python]
INSTALLED_APPS = [
‘django.contrib.admin’,
‘django.contrib.auth’,
‘django.contrib.contenttypes’,
‘django.contrib.sessions’,
‘django.contrib.messages’,
‘django.contrib.staticfiles’,
‘helloworld’, # 追加
]
[/python]
以上で、ソースの修正は完了。
7.動作確認
ターミナルに移動し、「python manage.py runserver」コマンドでサーバーを起動する。
(venv) C:\Users\...\PycharmProjects\sample>python manage.py runserver

Performing system checks...

System check identified no issues (0 silenced).

You have 15 unapplied migration(s). Your project may not work properly until you apply the migrations for app(s): admin, auth, contenttypes, sessions.
Run 'python manage.py migrate' to apply them.
September 29, 2018 - 17:18:31
Django version 2.1.1, using settings 'helloproject.settings'
Starting development server at http://127.0.0.1:8000/
Quit the server with CTRL-BREAK.
エラーが出ていないことを確認し、ブラウザで
http://127.0.0.1:8000/helloworld/
にアクセスする。
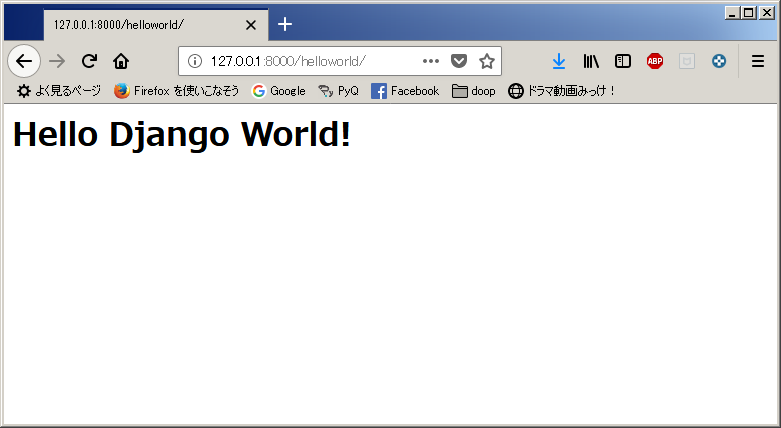
作成した画面が開けば成功。
次回はもうちっとまともなWebアプリを開発してみよう。


コメント